Compare paper-based, foam and formed-tray directions. Start with the product you need to hold; we will review fit, loading, removal and the complete pack with you.
Search by a familiar name or browse the list. Use an option as your current preference; you can change it while exploring. A photo is enough if you do not know the terminology.
How saving works: Keep one current insert direction. Choosing another replaces it.
11 options shown
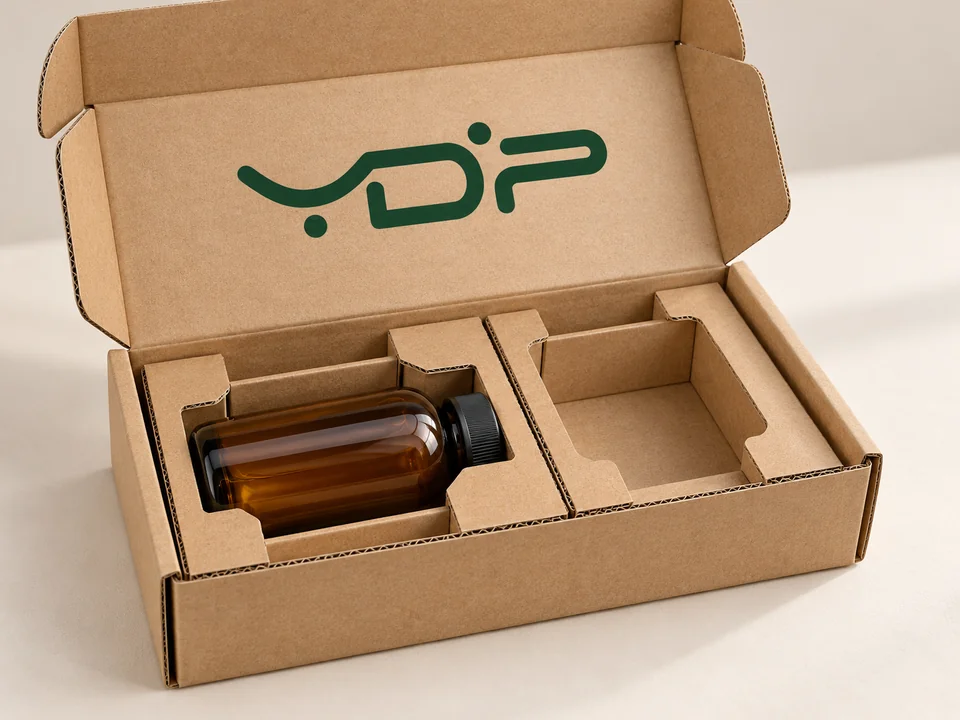
Folded paper support
Paperboard inserts
Cut and folded paperboard holds individual products or separates a coordinated set.
Fit & sample checks
A folded platform or divider locates the product through its tabs, walls and contact points. A flat decorative sheet alone does not provide the same support.
Consider for
A paper-led presentation for cartons or rigid boxes where the product can be supported by folded features.
Design around the product
Start with the filled product dimensions and weight, opening orientation and items per box. Review the folded support below the visible deck.
Check on the loaded sample
Check tabs, locking folds and base support after loading.
Provide access to grip the product without pulling on a cap.
Review movement, surface contact and the complete shipping pack.
Folded corrugated ribs, partitions or platforms support products and keep items apart.
Fit & sample checks
Flute direction and the folded design affect how the support behaves. A corrugated insert should be reviewed together with the outer shipping or presentation box.
Consider for
Product sets and shipping-oriented packs that need paperboard separation or shaped support.
Design around the product
Identify contact areas, orientation, product weight and the assembly sequence. Allow for the real board thickness and flute direction.
Check on the loaded sample
Inspect exposed edges and any contact with a sensitive finish.
Check divider locking and pack-out time.
Review product movement and the intended transport conditions.
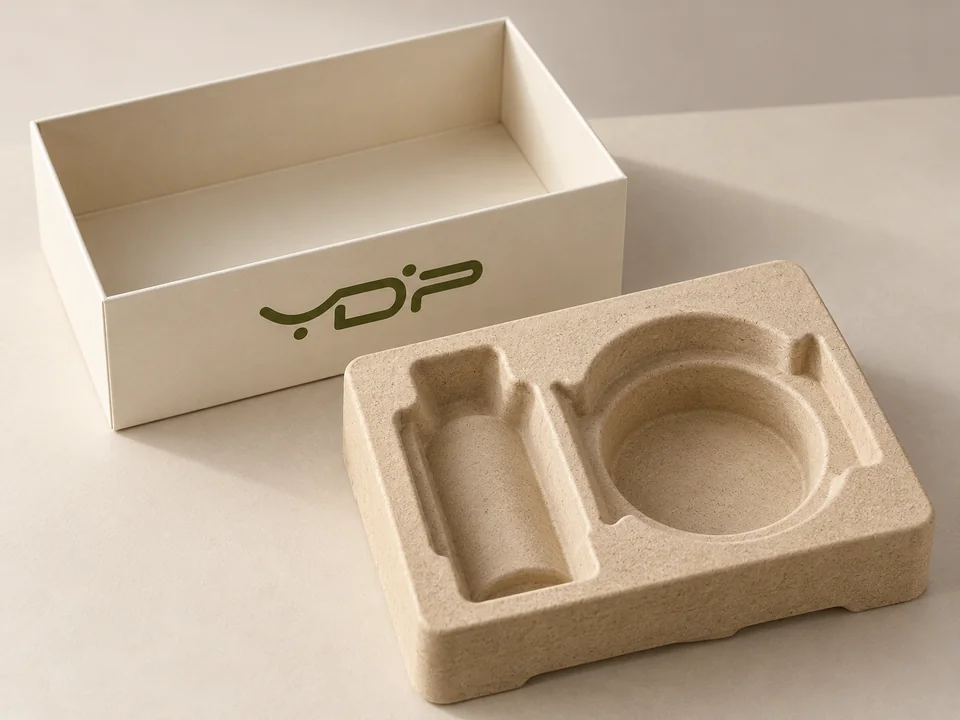
A shaped fibre tray uses continuous pockets and rounded walls to locate the product.
Fit & sample checks
The reference shows moulded fibre, not a die-cut paperboard platform. Forming method, surface quality and material formulation need to be specified with the tray design.
Consider for
A fibre-based tray direction for bottles, jars or other products with shapes suitable for formed pockets.
Design around the product
Review draft, corner radii, wall shape and contact points with a forming sample. Do not rely on an illustration for a production cavity.
Check on the loaded sample
Check cavity fit, wall consistency and surface contact.
Compare the actual colour, fibre finish and moisture conditions.
Review removal access and the packed product through handling checks.
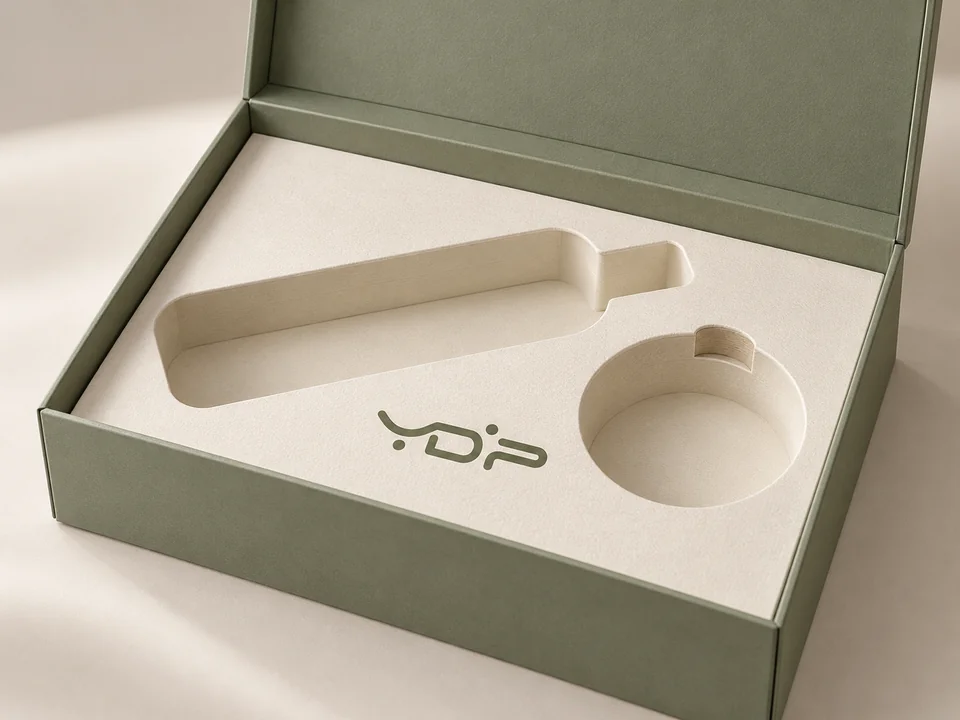
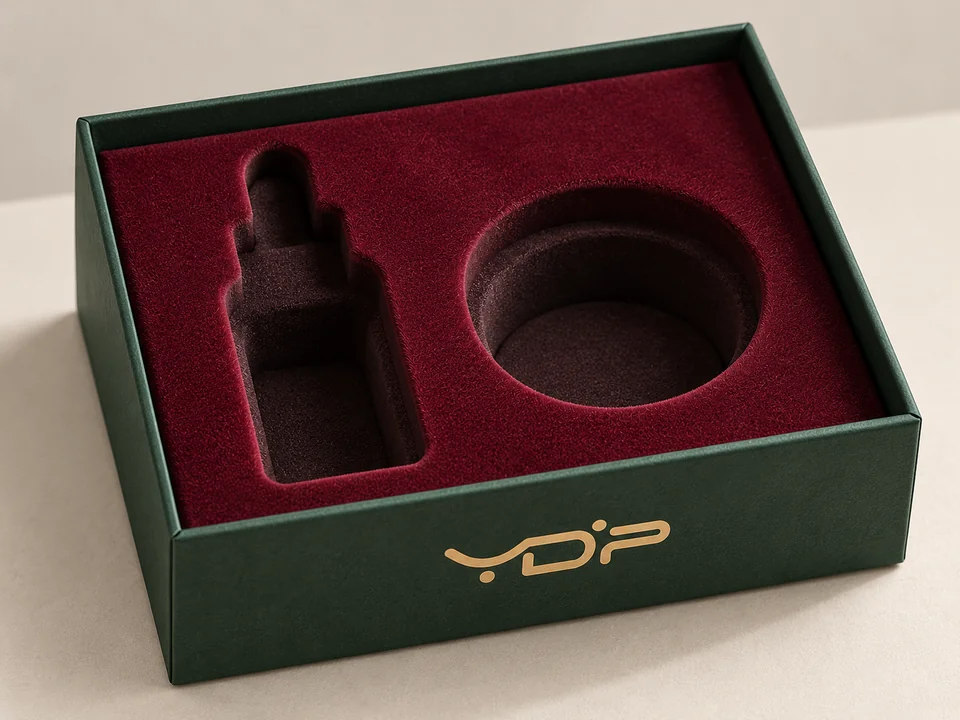
Specialty paper finishes a formed support while the construction beneath holds the product.
Fit & sample checks
The visible paper is a presentation layer. A board platform, tray or another agreed core provides the positioning; loose lining paper should not be treated as structural cushioning.
Consider for
Gift-box interiors where the visible paper should coordinate with the wrap, lining or brand colours.
Design around the product
Specify the supporting core as well as the paper. Review wrapping joints, cavity edges and how the decorated insert attaches to the box.
Check on the loaded sample
Inspect folded paper corners and adhesive marks.
Check grip openings and the product contact surface.
Confirm that the underlying structure supports the loaded products.
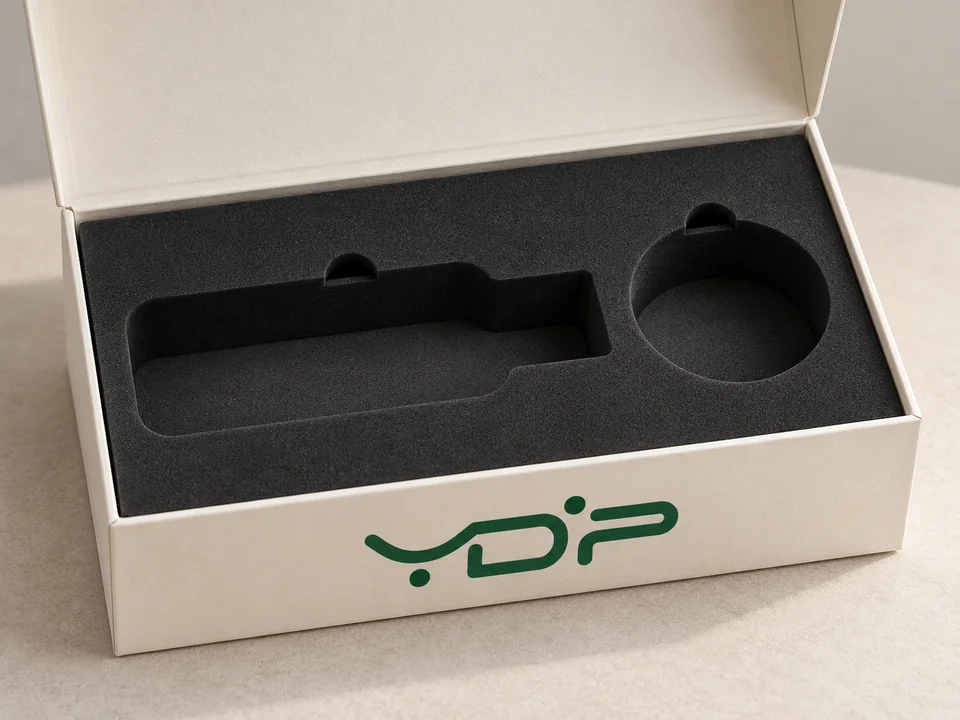
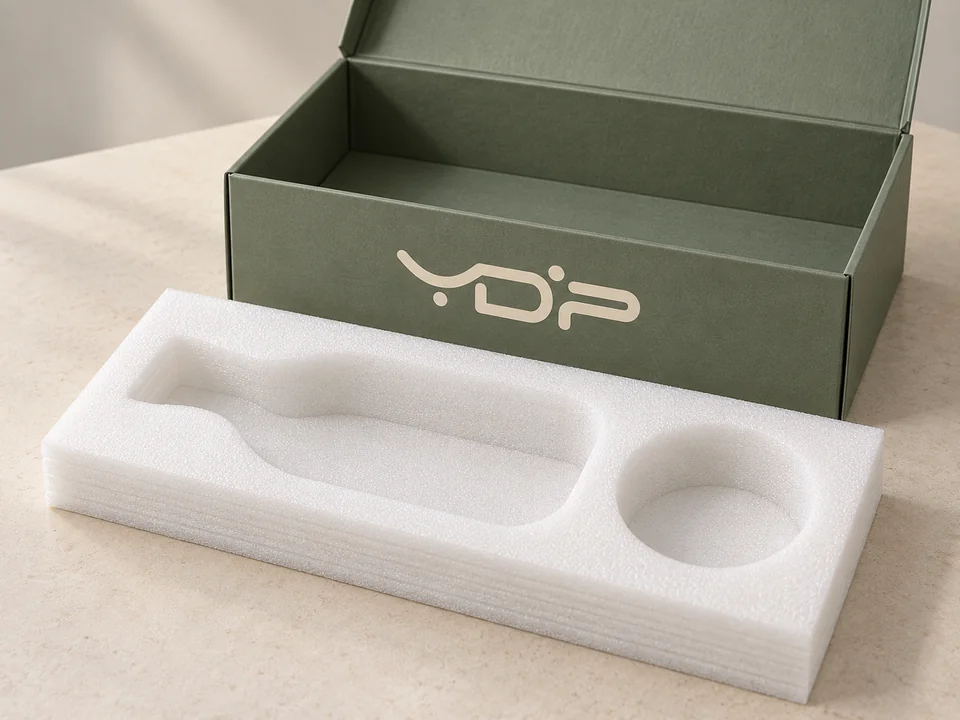
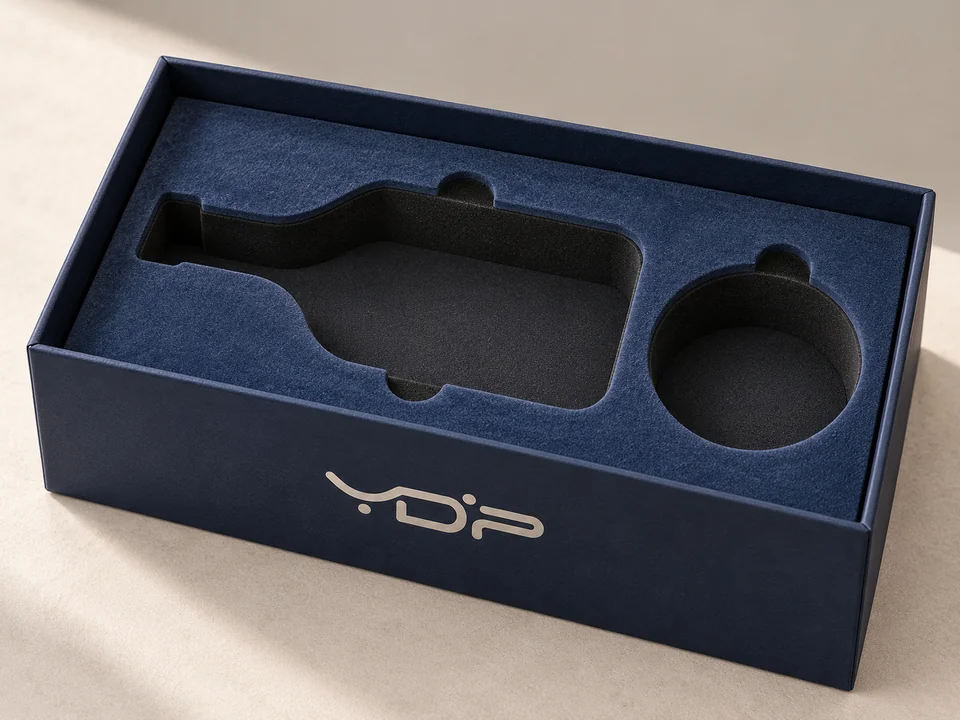
Cut EVA foam provides defined product positions and a clean presentation surface.
Fit & sample checks
Foam grade, hardness, thickness and the cut geometry are selected together. The material name or a photograph alone does not establish cushioning performance.
Consider for
Presentation packs needing clearly defined recesses for bottles, jars, accessories or mixed product sets.
Design around the product
Review actual product tolerances, filled weight and sensitive surfaces. Finger access and support below the cavity matter as much as the top outline.
Check on the loaded sample
Check retention without excessive force on glass or closures.
Inspect cut edges, dust and any laminated base bond.
Review material contact and the complete pack under agreed handling checks.
Cut or laminated expanded polyethylene foam supports products within a fitted pack.
Fit & sample checks
EPE is a polyethylene foam direction. Specify the grade, thickness and construction; cushioning needs to suit the product and its distribution environment.
Consider for
Products needing shaped foam support, including combinations where a presentation layer is considered separately.
Design around the product
Review cushioning space, contact area and filled weight rather than simply copying the product outline. Confirm any layered construction.
Check on the loaded sample
Check fit, compression and movement with the real product.
Inspect cut edges and laminated joints.
Review the insert and outer pack together for the planned delivery route.
A flexible foam support with cut product recesses and a visibly cellular surface.
Fit & sample checks
Sponge is a broad purchasing term, not a complete material specification. Confirm the polymer, cell structure and grade before comparing it with EVA or EPE.
Consider for
A soft foam direction where flexibility and the product contact surface can be reviewed on a sample.
Design around the product
Agree the foam type, thickness, compression behaviour and product loading position. Avoid relying on colour as a grade identifier.
Check on the loaded sample
Check recovery and retention after loading and removal.
Review surface contact, particles and any transfer.
Confirm performance with the filled products and outer box.
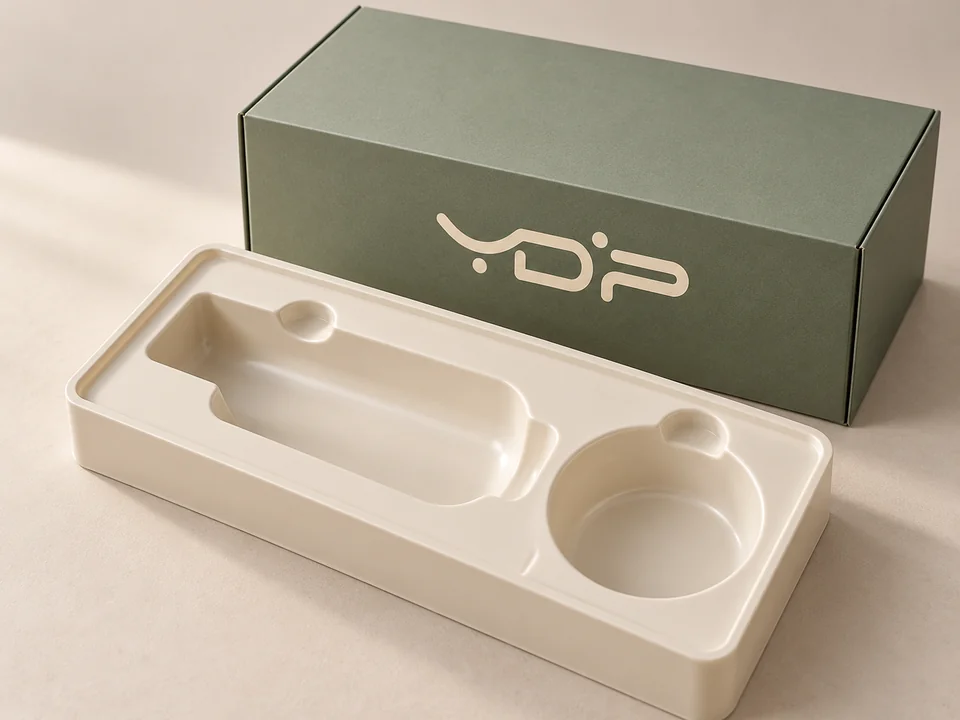
An opaque formed sheet creates continuous pockets around individual products or a set.
Fit & sample checks
PP, PVC and other resin directions are not interchangeable specifications. Confirm the actual polymer, sheet grade, thickness and intended use with the project.
Consider for
Multi-item presentation packs where formed pockets and a consistent loading orientation suit the product.
Design around the product
Review draft, flange, ribs, cavity depth and finger access. Check closures and pumps have clearance from the tray and lid.
Check on the loaded sample
Inspect forming consistency, edge trim and surface marks.
Confirm fit and removal with actual product tolerances.
Review the material specification and handling requirements for the destination.
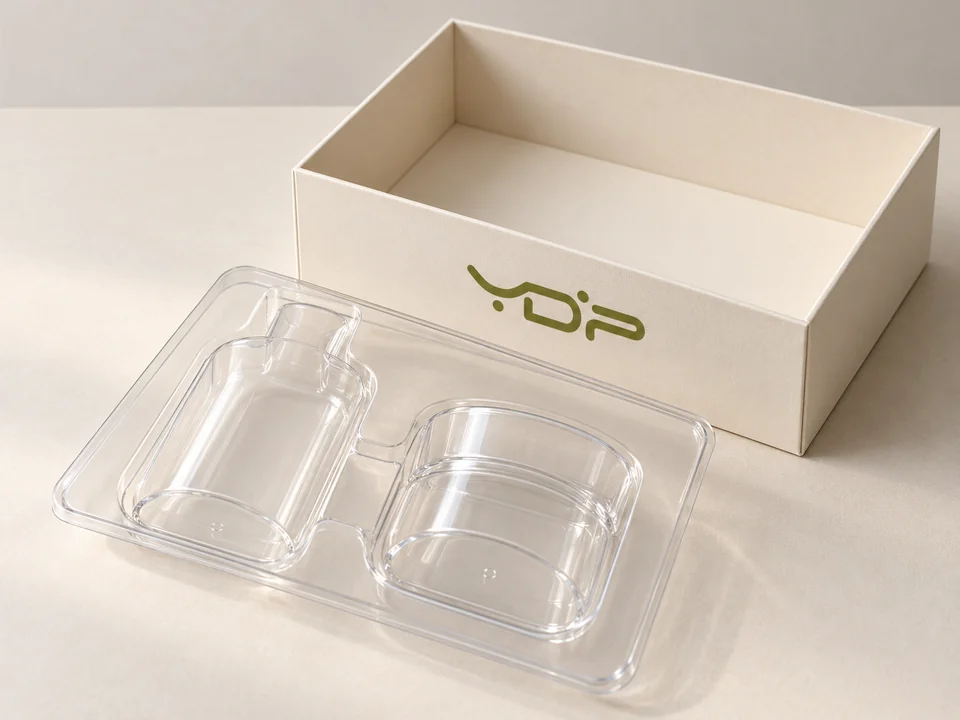
A transparent formed tray locates the product while keeping the cavity and contents visible.
Fit & sample checks
Transparency is an appearance, not a polymer specification. Confirm the resin, grade and sheet thickness; a clear tray is not automatically suitable for every product contact or recycling route.
Consider for
Display packs where product visibility and a thin formed insert are priorities.
Design around the product
Review the pocket geometry and optical areas together. Allow grip access, draft and clearance around labels, pumps or delicate surfaces.
Check on the loaded sample
Compare clarity, haze, scuffs and edge trim.
Check retention and removal without stressing the product.
Confirm the material declaration and complete-pack handling needs.
Images show material and construction directions, not approved cavity dimensions or tested protection. Confirm the actual material, product contact, removal access and complete-pack performance with a loaded project sample.
START WITH WHAT GOES INSIDE
Hold it securely. Let it lift out easily.
The insert, product and outer box work together. Start with the filled product and the customer’s opening experience, then compare the material and construction.
Paper-based support
Folded board, corrugated ribs and moulded fibre use different constructions. Review where the product rests and how the support locks or forms; a paper appearance alone does not prove cushioning.
EVA, EPE and sponge describe different foam directions. Flocking is a surface treatment over a core. Specify the support grade and the contact surface separately.
A formed sheet creates continuous pockets with draft and rounded corners. Clear and opaque describe appearance; confirm the actual polymer and grade rather than identifying it from the image.
A product photo and the number of items per box are enough to begin. If available, add product dimensions including caps or pumps, filled weight, the intended display position and any surface that must avoid rubbing. Dimensions describe the product, not the final cavity clearance.
On the loaded sample, review retention, base support, lid clearance and finger access. Agree the delivery conditions and any handling or transit checks for the complete pack. A presentation photo is not a completed protection test.
We can review the insert with your box construction for production in China. MOQ is 500 pieces; sampling options, cost and timing are confirmed with sales.