CUSTOM PACKAGING / Print & Finishes

Packaging printing & finishes.

Compare colour printing, films, coatings, foils and dimensional details. Save the looks you like; we will review the material and process combination with your project sample.

EXPLORE THE OPTIONS

Print & Finishes

Search by a familiar name or browse the list. Use an option as your current preference; you can change it while exploring. A photo is enough if you do not know the terminology.

How saving works: Keep several finishes together if useful.

17 options shown

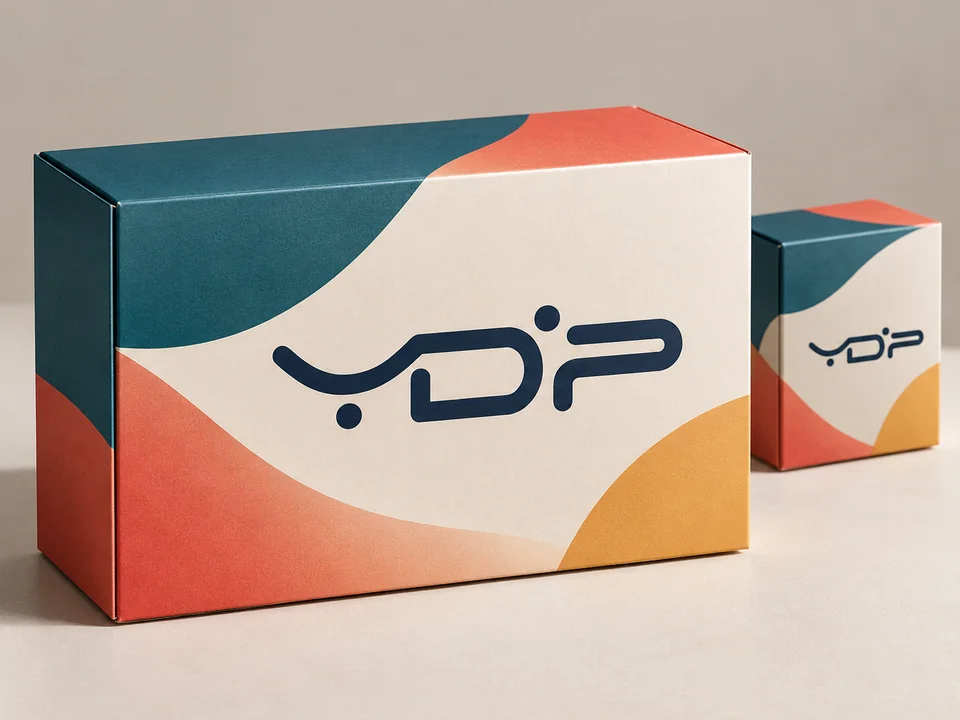
YDP-branded carton reference with flat teal, coral and ochre colour printing
Colour & artwork

CMYK colour printing

Reproduce photographs, gradients and multicolour artwork on printable paper or carton board.

Materials & sample checks

CMYK builds colour with process inks. A metallic appearance requires a separate metallic stock, ink or foil direction; screen colour is not a press proof.

Materials to review
Printable coated paper and carton board; uncoated stocks need a separate colour review.
Artwork & coverage
Provide print-ready artwork, linked images and the required colour references. Keep technical dielines separate from print layers.
Check on the project sample
  • Compare brand colours on the selected stock.
  • Review small type, gradients and image resolution.
  • Check colour continuity between panels and SKUs.
Discuss this option ↗︎
Add this finish
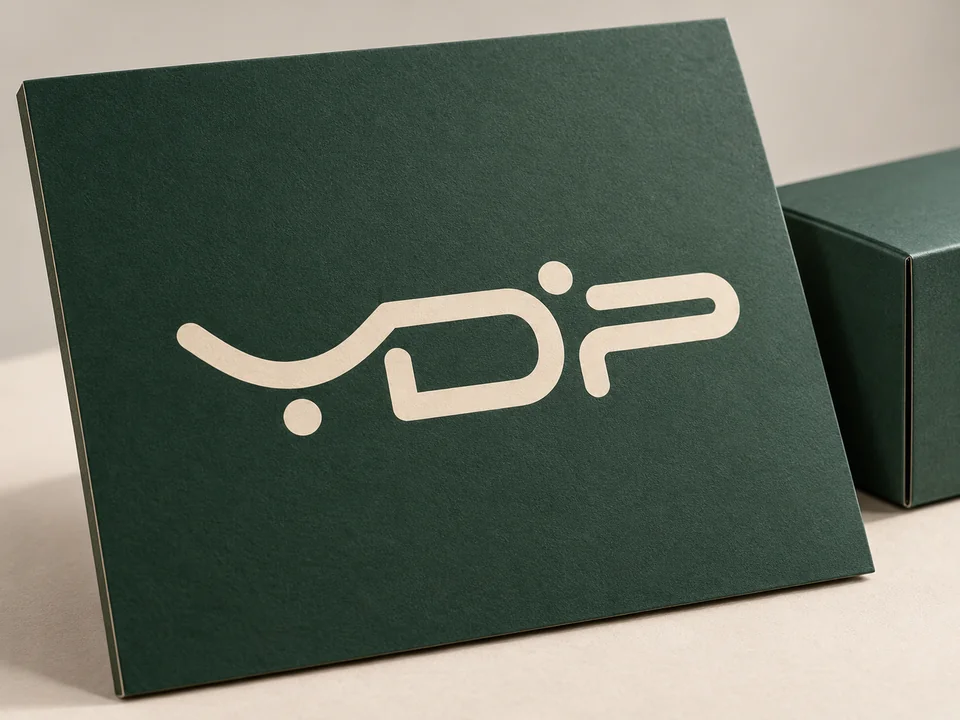
YDP-branded green packaging panel with a low-reflection matte surface
Low-shine film

Matte lamination

A bonded matte film gives printed paper a quieter, low-reflection surface.

Materials & sample checks

Lamination adds a film layer. It differs from a liquid matte coating, even when photographs look similar. Film grade and finishing sequence are reviewed together.

Materials to review
Printed wrap paper and folding-carton board, subject to film adhesion and creasing trials.
Artwork & coverage
Identify the laminated faces and any later foil, UV or glue areas.
Check on the project sample
  • Review haze and colour shift over dark artwork.
  • Check rubbing marks and scuffs on the sample.
  • Inspect fold lines, edge lift and glue compatibility.
Discuss this option ↗︎
Add this finish
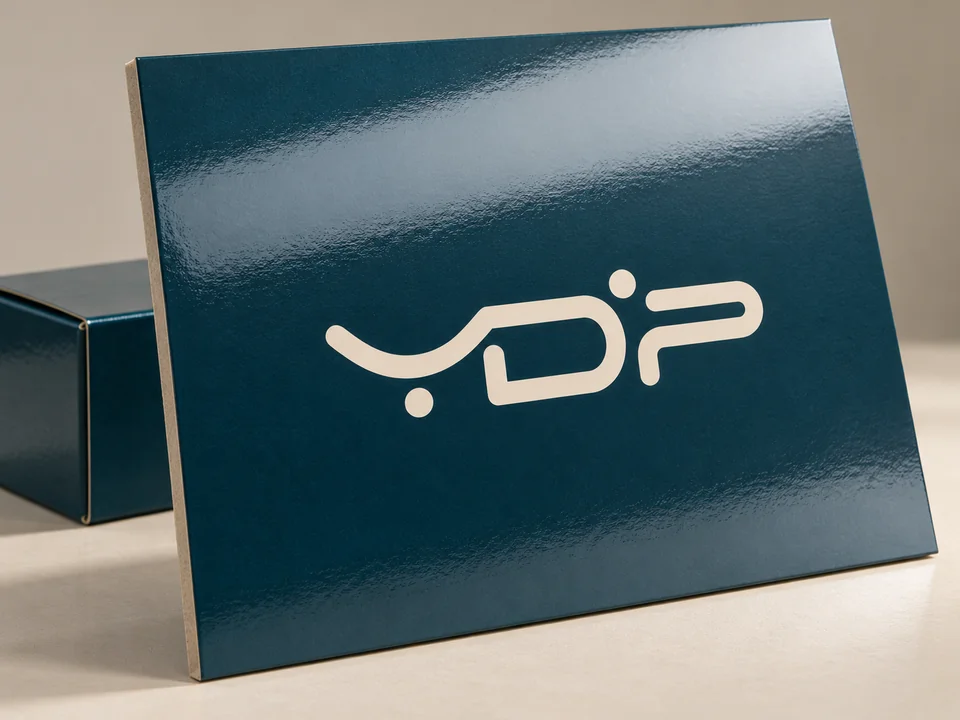
YDP-branded blue-green panel with a continuous high-gloss surface reflection
High-shine film

Gloss lamination

A clear gloss film creates strong reflections across the printed surface.

Materials & sample checks

The film covers the specified faces rather than only a logo. Gloss UV coating can create a similar appearance through a different process.

Materials to review
Printable paper wraps and carton board with a surface suitable for bonding.
Artwork & coverage
Specify coverage and keep closure, fold and glue positions visible in the production file.
Check on the project sample
  • Compare reflection and colour saturation on stock.
  • Check trapped particles, bubbles and adhesion.
  • Inspect folds and bonding after assembly.
Discuss this option ↗︎
Add this finish
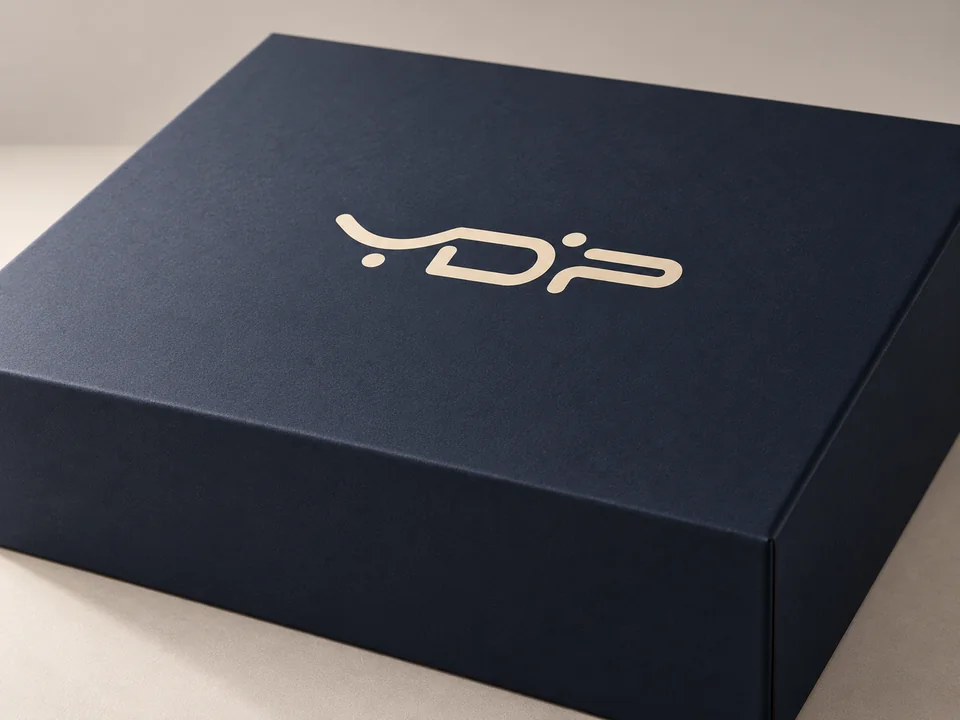
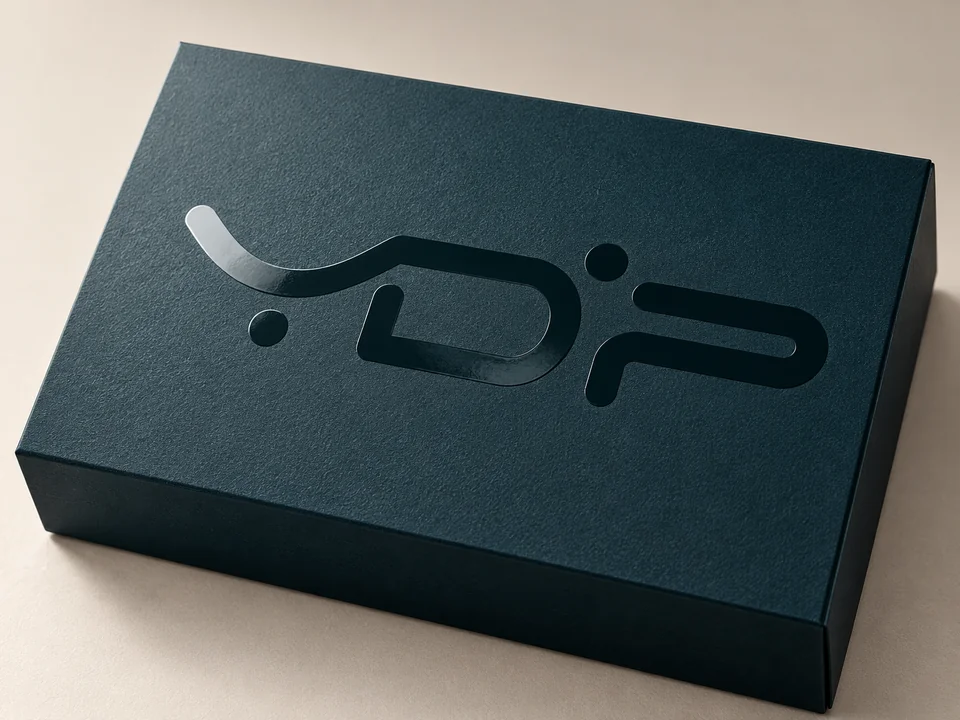
YDP-branded navy rigid box reference with a softly diffused matte appearance
Soft matte film

Soft-touch lamination

A smooth matte film selected for a soft hand feel and restrained visual finish.

Materials & sample checks

A photograph can suggest the matte look, but cannot establish its feel. This film is distinct from flocking, which uses visible short fibres.

Materials to review
Compatible printed wrap papers and carton boards; confirm the exact film grade.
Artwork & coverage
Flag any foil, spot UV and adhesive areas so the process order can be reviewed.
Check on the project sample
  • Handle a physical sample to agree the feel.
  • Check fingerprints, rubbing and scuff visibility.
  • Trial foil or varnish adhesion on the chosen film.
Discuss this option ↗︎
Add this finish
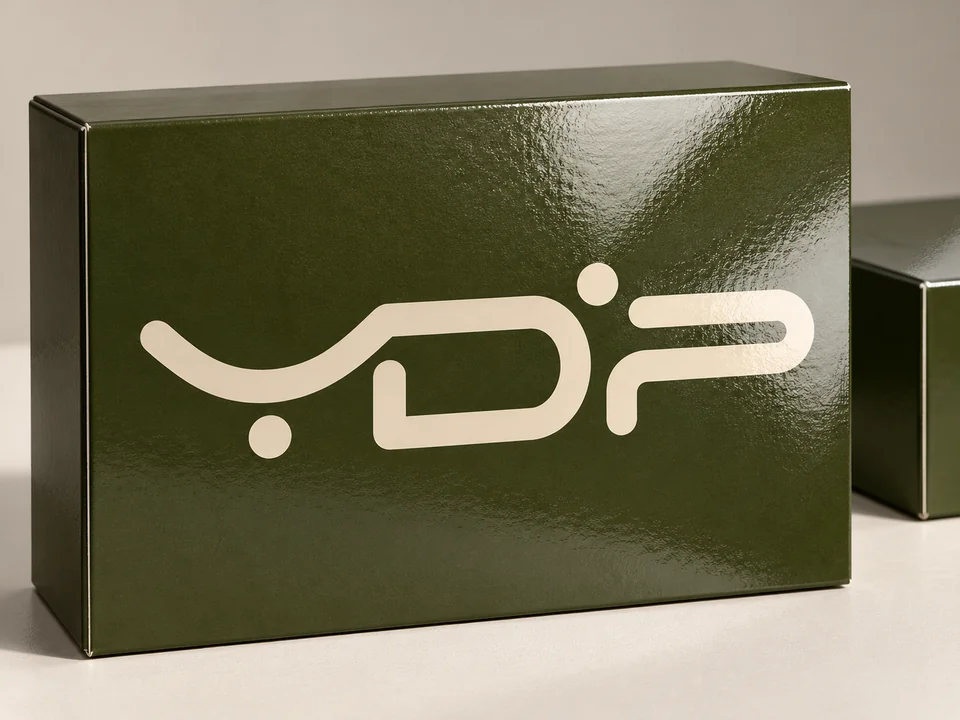
YDP-branded olive carton with full-face gloss coating, including the printed logo
Full-area coating

Flood UV coating

A UV-cured coating across a specified face; the reference shows a gloss direction.

Materials & sample checks

UV describes the curing method, not a fixed level of shine. Specify gloss or matte, coverage and the intended surface effect.

Materials to review
Compatible printed paper or board; absorption and any film underneath affect the result.
Artwork & coverage
Mark coated faces and areas that must remain free for gluing or later decoration.
Check on the project sample
  • Agree gloss level on the actual printed stock.
  • Check curing, adhesion and surface consistency.
  • Inspect folds and scuffing after assembly.
Discuss this option ↗︎
Add this finish
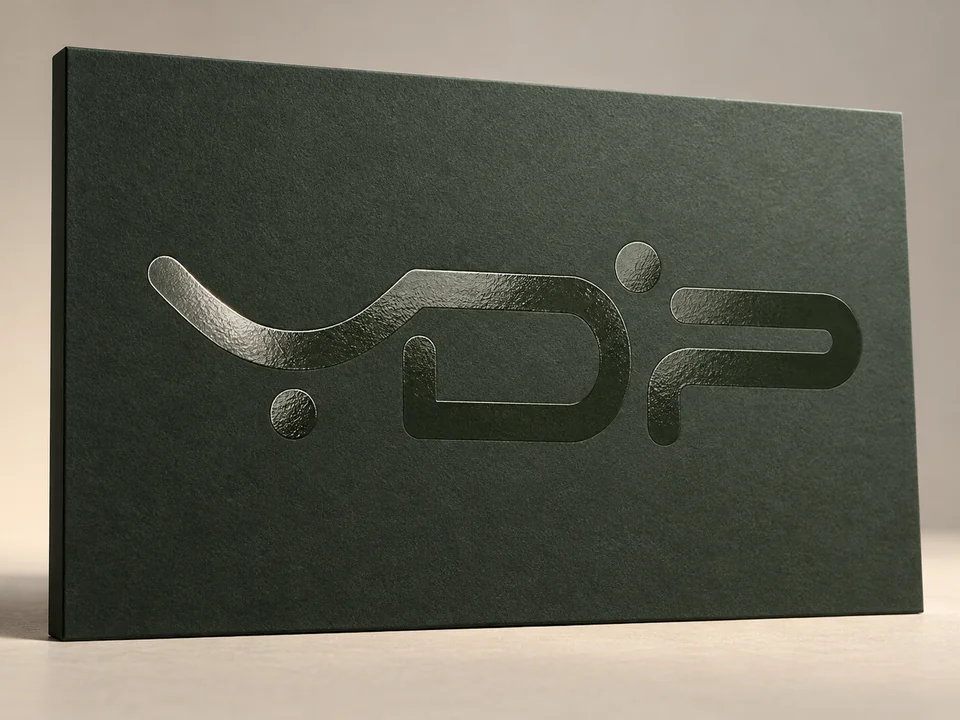
Clear gloss YDP logo contrasting with surrounding matte green paper
Selective gloss

Spot UV

Localised transparent gloss highlights a logo or pattern against a quieter surface.

Materials & sample checks

The finish is applied only to selected areas. Standard spot UV is not the same as deep embossing or a thick raised varnish.

Materials to review
Compatible printed or laminated paper surfaces; textured stocks may change the contrast.
Artwork & coverage
Provide a separate vector mask aligned to the print artwork, with fine detail reviewed for the process.
Check on the project sample
  • Check registration around printed edges.
  • Compare gloss contrast in changing light.
  • Review adhesion, fine gaps and fold proximity.
Discuss this option ↗︎
Add this finish
Smooth glossy YDP logo against a finely textured matte varnish reference
Matte–gloss contrast

Reverse UV

Fine textured matte areas contrast with smoother gloss areas in a coordinated varnish effect.

Materials & sample checks

The result depends on the paired varnish system and substrate. Use an appearance reference; agree the process and texture with a project sample.

Materials to review
Compatible printed board or paper with a surface and coating system tested together.
Artwork & coverage
Separate the contrasting areas and identify the intended smooth and textured regions.
Check on the project sample
  • Review texture scale and gloss contrast.
  • Check consistent coverage and registration.
  • Confirm cure, adhesion and fold performance.
Discuss this option ↗︎
Add this finish
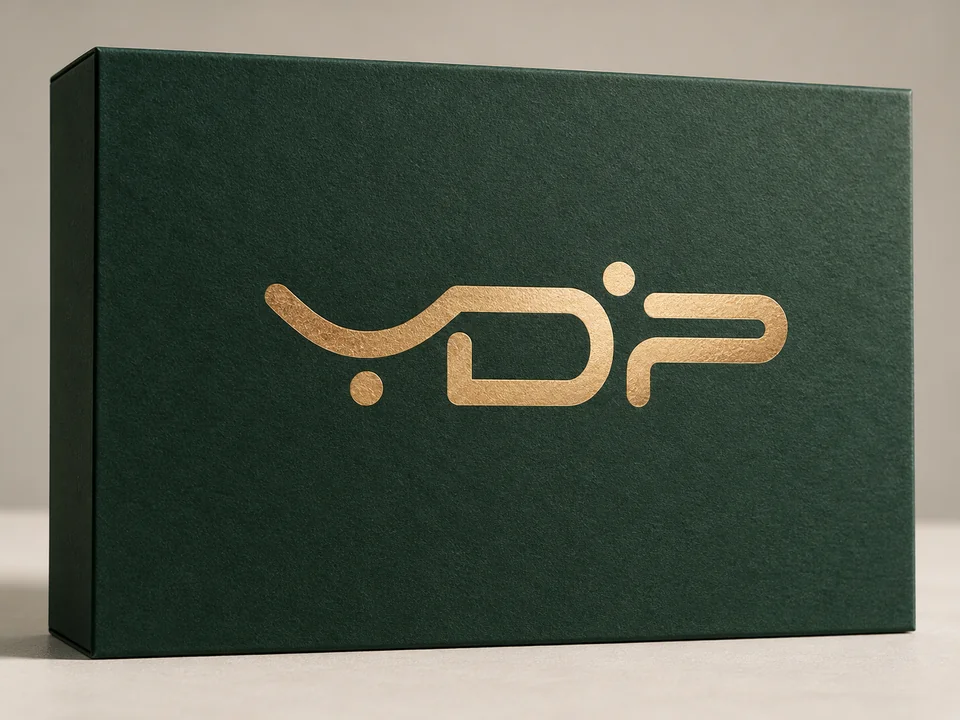
Champagne gold metallic YDP logo on a forest-green paper packaging panel
Metallic transfer

Gold foil

A reflective gold foil accent for a logo, fine border or selected graphic.

Materials & sample checks

Hot stamping transfers foil with a heated tool and pressure. Gold shades range from pale champagne to deeper tones; the photograph is a colour direction.

Materials to review
Suitable smooth papers, boards and compatible coverings; texture and film can affect transfer.
Artwork & coverage
Supply separate vector foil artwork. Review fine lines, small gaps and large solid areas before tooling.
Check on the project sample
  • Approve a physical foil colour reference.
  • Check complete transfer and clean edges.
  • Review registration and foil near creases.
Discuss this option ↗︎
Add this finish
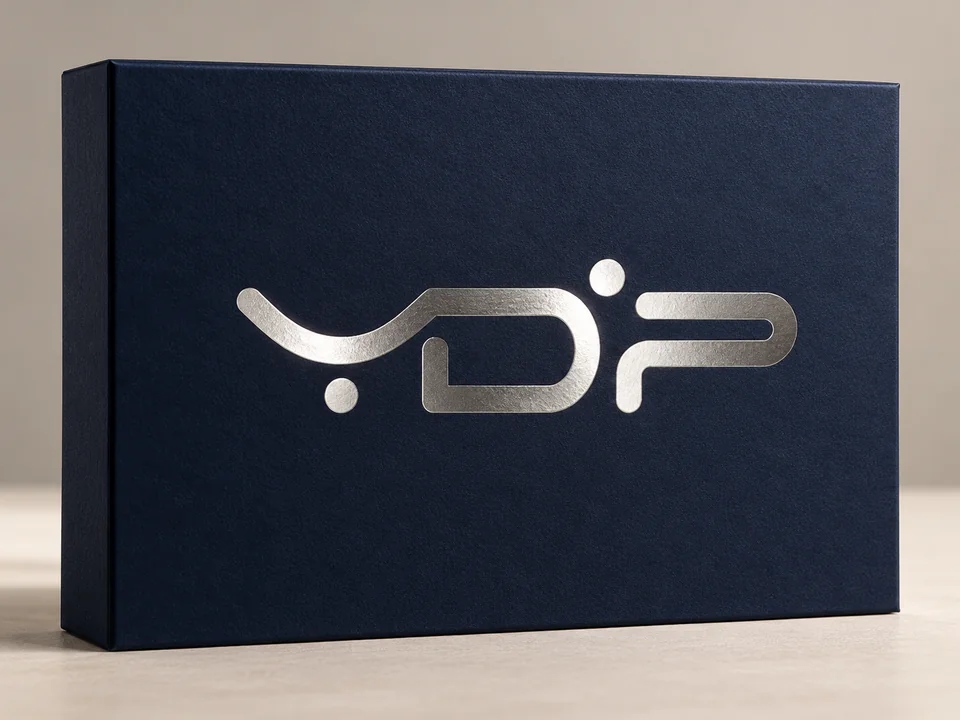
Reflective silver YDP logo on a navy paper packaging panel
Metallic transfer

Silver foil

A cool metallic silver accent that reflects light differently from white or grey ink.

Materials & sample checks

Silver is a foil colour direction, not a different box structure. Surface smoothness, the foil grade and the design affect the finished edge.

Materials to review
Suitable paper, board and coverings after a foil adhesion and transfer trial.
Artwork & coverage
Separate the foil artwork from CMYK print and identify any combined embossing.
Check on the project sample
  • Compare silver tone and reflectivity.
  • Inspect fine details and solid-area coverage.
  • Check adhesion and alignment with the print.
Discuss this option ↗︎
Add this finish
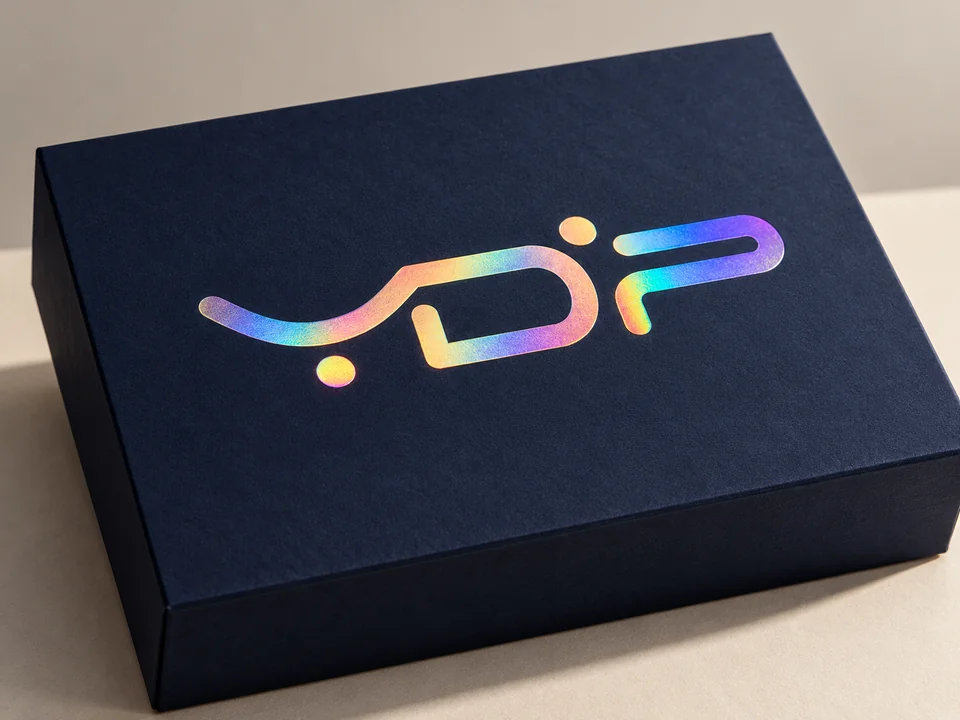
Iridescent holographic foil YDP logo on matte navy paperboard
Iridescent accent

Holographic foil

A light-changing foil accent for selected logos or decorative areas.

Materials & sample checks

The reference shows localised holographic foil. Full-sheet holographic film or paper is a different material choice; specify the coverage and optical pattern.

Materials to review
Compatible smooth paper or board; review transfer over the chosen print or film.
Artwork & coverage
Provide a separate foil layer and indicate whether pattern direction or continuity matters.
Check on the project sample
  • View the optical effect from several angles.
  • Review pattern scale on the actual logo.
  • Check transfer edges and print registration.
Discuss this option ↗︎
Add this finish
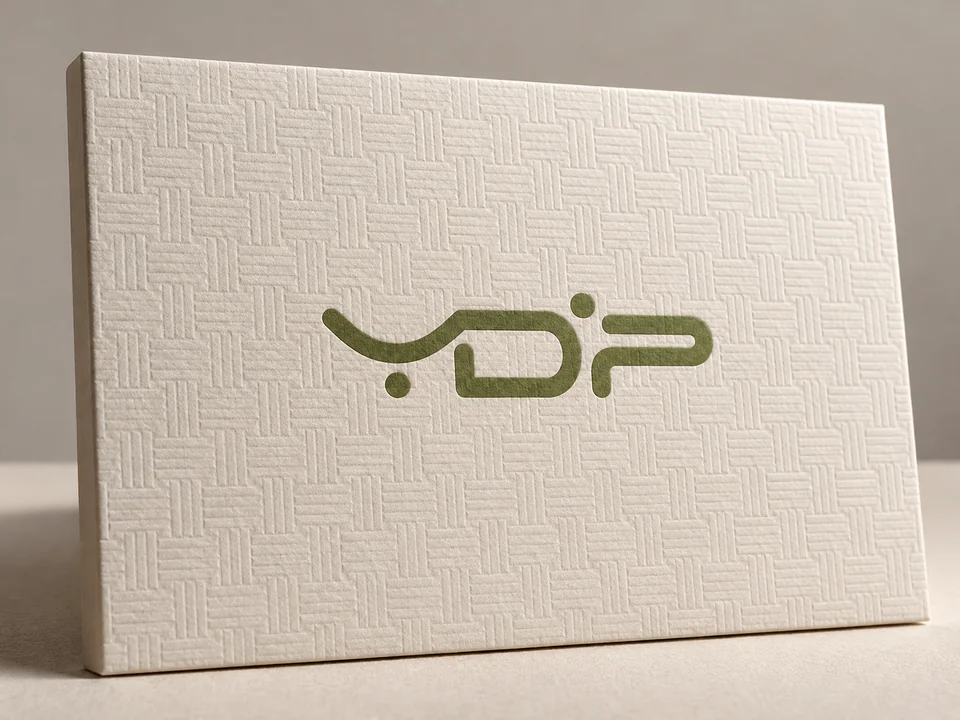
Ivory paper with an all-over shallow geometric embossed pattern and green YDP logo
Repeated paper texture

Texture embossing

A repeated shallow relief changes the paper surface across a selected area.

Materials & sample checks

An all-over embossed pattern differs from a single raised logo and from a pattern printed in ink. Existing textured stock may be an alternative.

Materials to review
Paper or board that can accept the chosen texture without losing required strength.
Artwork & coverage
Supply a texture reference and define coverage, direction and any untextured areas.
Check on the project sample
  • Agree pattern scale and relief on stock.
  • Review how texture changes foil and print.
  • Inspect creases, edges and wrap adhesion.
Discuss this option ↗︎
Add this finish
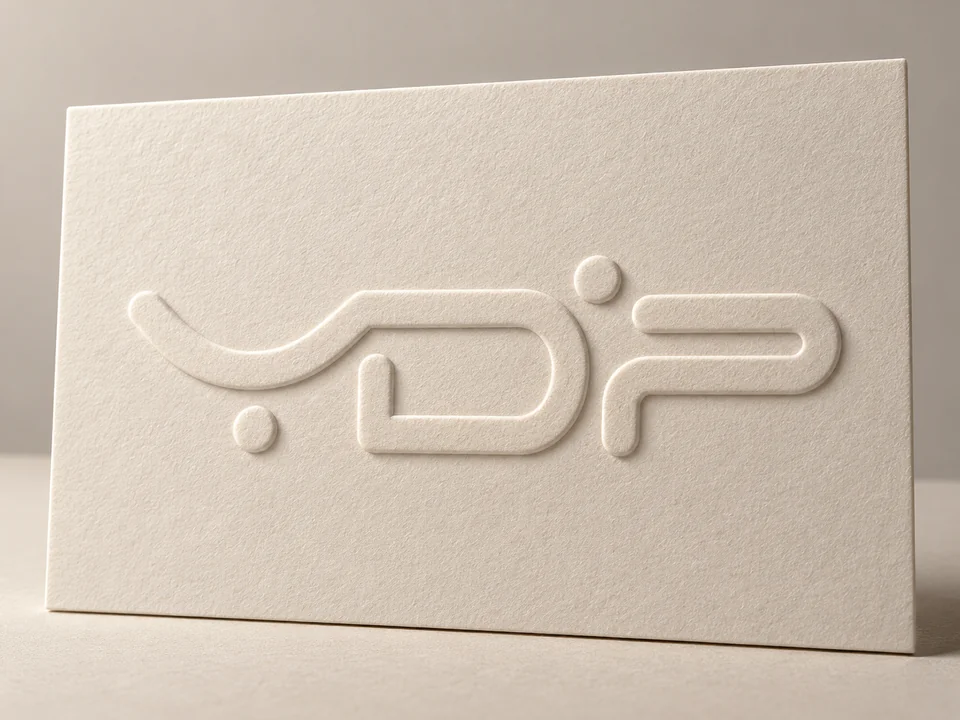
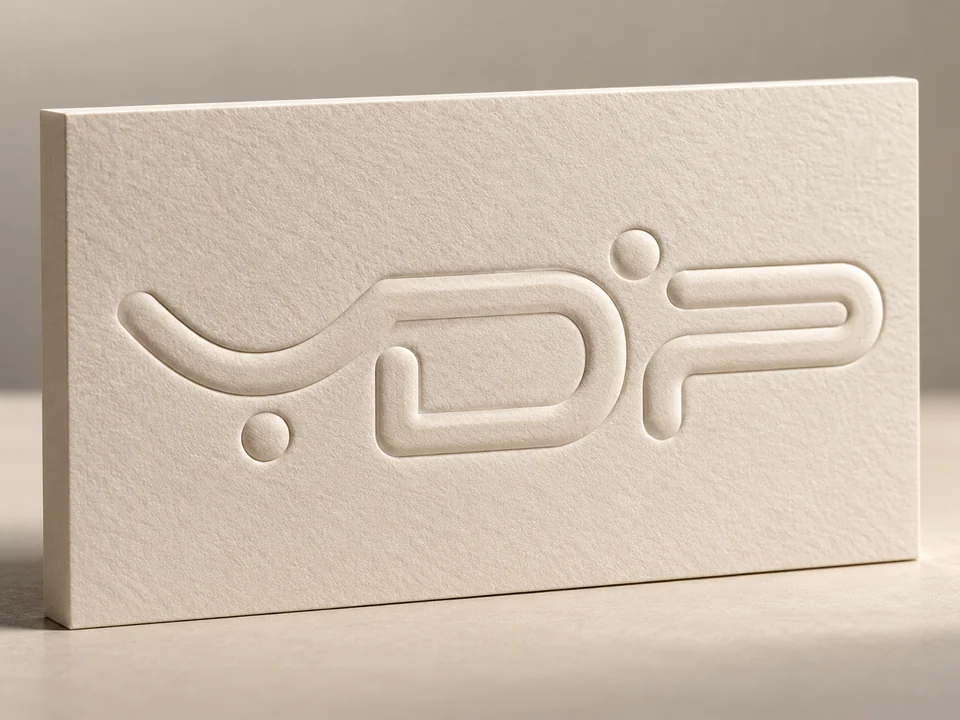
Blind embossed YDP logo raised above the surrounding ivory paper
Logo above the surface

Raised embossing

A logo or graphic rises above the surrounding paper, with or without printed colour.

Materials & sample checks

Blind embossing uses the paper colour itself. A single-level emboss has a simpler raised profile than sculpted, multilevel embossing.

Materials to review
Suitable paper and board; thickness, fibre structure and the design influence achievable relief.
Artwork & coverage
Provide vector emboss artwork and indicate whether it must register with ink or foil.
Check on the project sample
  • Agree relief depth on the chosen stock.
  • Inspect fine details, cracking and reverse impression.
  • Review clearance from folds and glued areas.
Discuss this option ↗︎
Add this finish
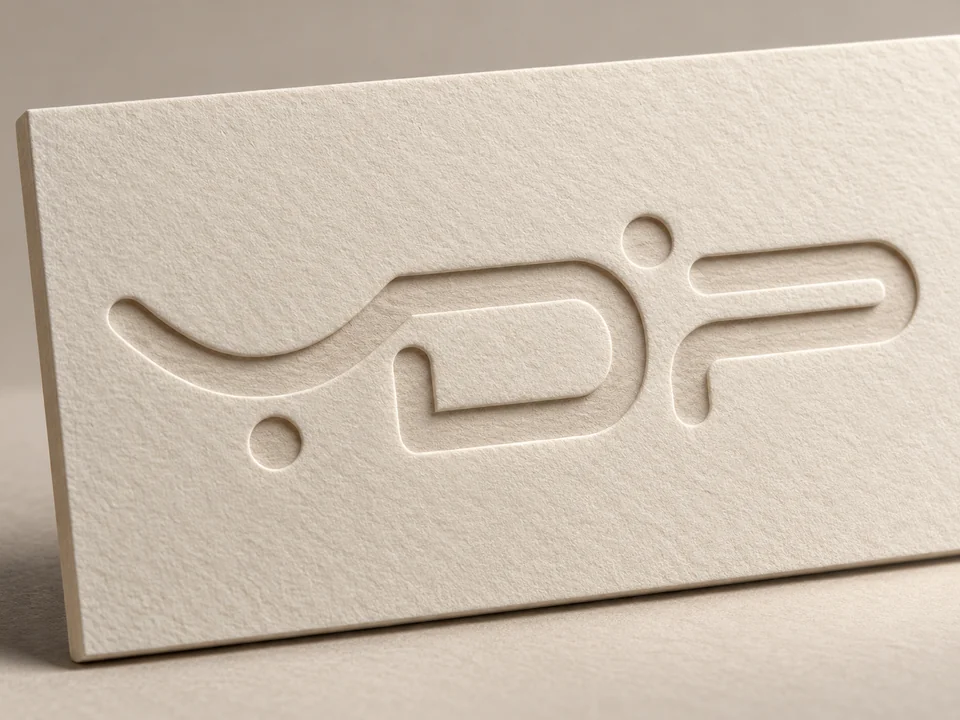
Blind debossed YDP logo recessed into an ivory paper panel
Logo below the surface

Debossing

A pressed-in mark sits below the surrounding paper for a recessed detail.

Materials & sample checks

Debossing indents the surface; embossing raises it. A blind deboss has no added ink or foil, although combined decoration can be reviewed.

Materials to review
Suitable papers, boards and selected coverings; the construction beneath affects the impression.
Artwork & coverage
Provide a separate vector layer and identify the required depth and any foil combination.
Check on the project sample
  • Check a clear recessed impression without tearing.
  • Review legibility of small counters and thin lines.
  • Inspect the reverse face and assembled panel.
Discuss this option ↗︎
Add this finish
Sculpted blind embossed YDP logo with rounded paper relief on ivory stock
Multilevel paper relief

Sculpted embossing

A shaped, multilevel emboss gives selected artwork a more sculpted paper profile.

Materials & sample checks

The tool models more than one height or a contoured shoulder. This is a paper-forming direction, not a separate plastic or metal badge.

Materials to review
Paper or board selected with the relief geometry and final panel construction in mind.
Artwork & coverage
Supply vector artwork plus a relief reference showing the intended levels and contours.
Check on the project sample
  • Review the depth and tooling approach first.
  • Check paper strain around tight curves.
  • Inspect light, shadow and detail on a physical sample.
Discuss this option ↗︎
Add this finish
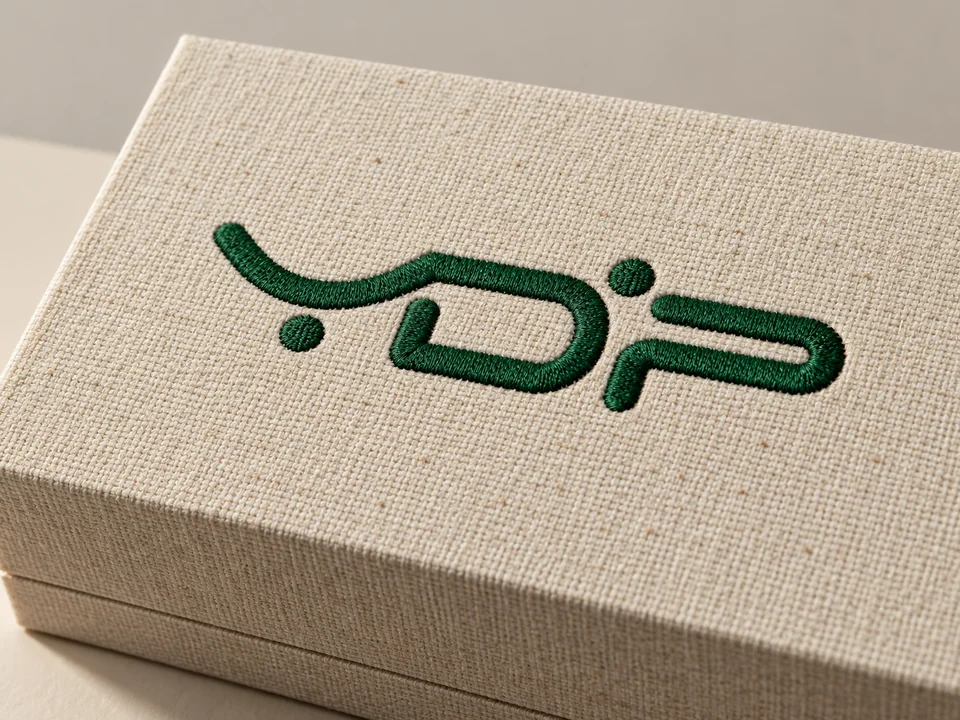
Green YDP logo formed with satin stitches on a natural cotton packaging covering
Stitched textile detail

Embroidery

Thread decoration on a suitable fabric covering or separate textile component.

Materials & sample checks

Embroidery needs a textile carrier and an assembly plan. It is not interchangeable with printing a stitch-like graphic on bare paper.

Materials to review
Compatible fabric covering, with stitch support and attachment reviewed before wrapping.
Artwork & coverage
Provide the logo and thread colour direction; small features need a stitch-specific review.
Check on the project sample
  • Review stitch density, edges and reverse bulk.
  • Check logo distortion during wrapping.
  • Inspect thread snagging and covering adhesion.
Discuss this option ↗︎
Add this finish
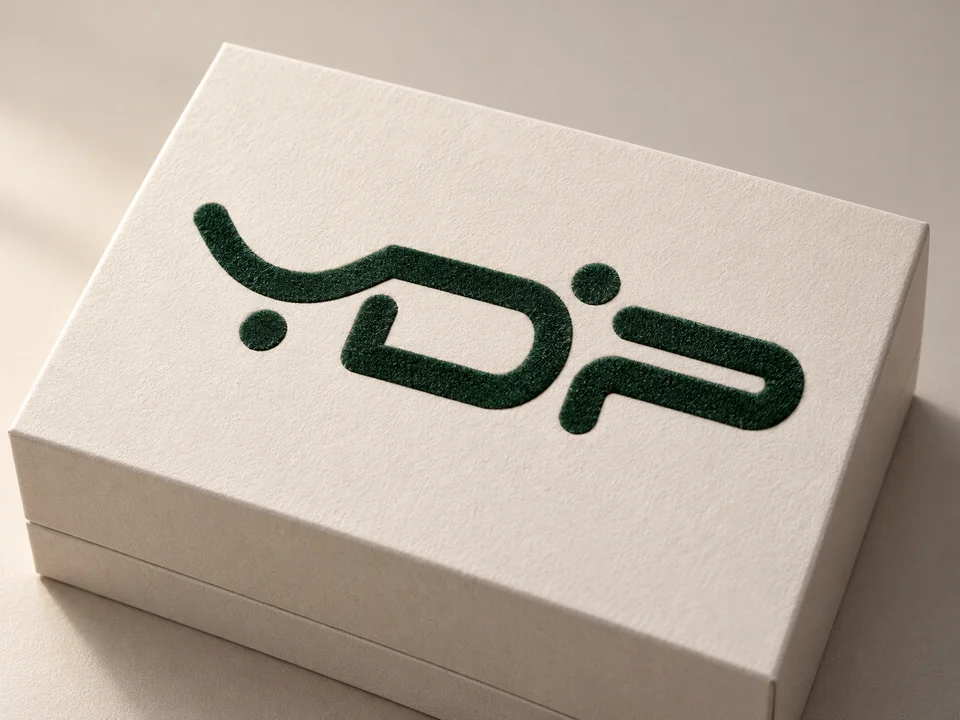
Short green flock fibres forming a YDP logo on an ivory packaging panel
Short-fibre surface

Flocking

Short fibres create a soft pile over selected decorative or presentation areas.

Materials & sample checks

Flocking bonds fibres to a prepared area. It differs from soft-touch film and from wrapping the box in a woven velvet fabric.

Materials to review
Compatible paperboard or components with an adhesive and fibre system reviewed together.
Artwork & coverage
Mark flocked areas, colour and any areas that need to stay clear for assembly.
Check on the project sample
  • Compare pile density and edge definition.
  • Check loose fibres and colour transfer.
  • Review adhesion and clearance around moving parts.
Discuss this option ↗︎
Add this finish
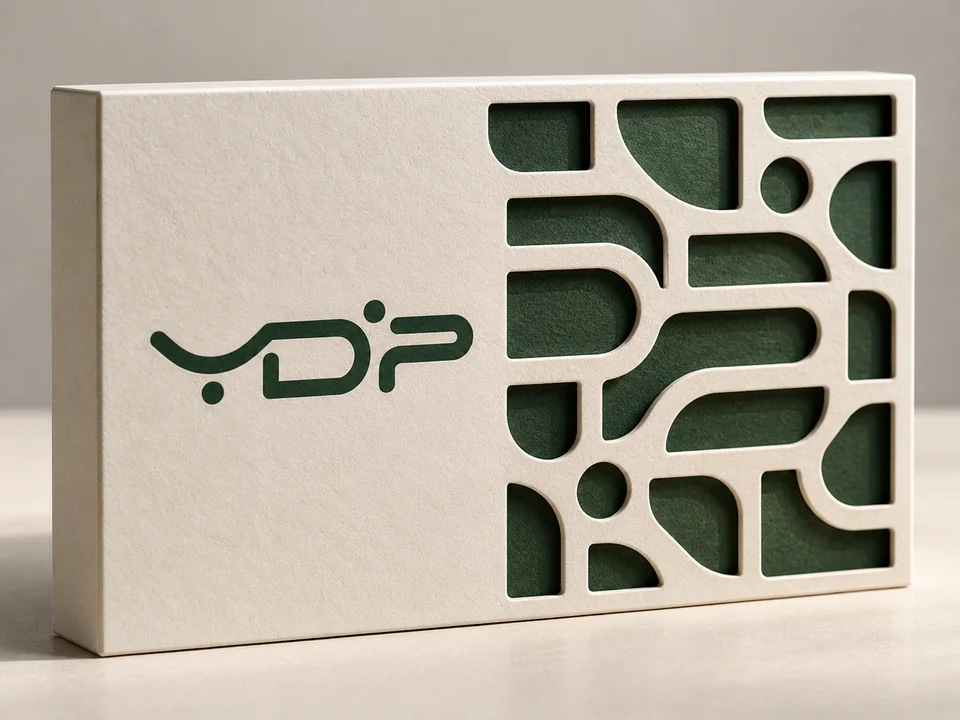
YDP-branded ivory panel with decorative cut-out lattice and a green backing layer
Cut & reveal

Decorative cutwork

Cut-out patterns expose a backing layer or the product while retaining paper bridges.

Materials & sample checks

Cutwork removes material. A transparent film-backed window may be a better direction where the opening needs an enclosed viewing area.

Materials to review
Paper and board selected for cut edge quality, bridge strength and the box structure.
Artwork & coverage
Provide vector cut paths and mark the backing, glue area and openings that remain exposed.
Check on the project sample
  • Review narrow bridges and unsupported islands.
  • Inspect cut edges, tearing and assembly alignment.
  • Confirm whether a backing or protective film is needed.
Discuss this option ↗︎
Add this finish

Images illustrate appearance directions, not approved production samples. Shine varies with lighting; touch, adhesion, colour and fold performance are confirmed on the selected material with your project sample.

CHOOSE THE EFFECT

Colour, shine and depth.
Separate the decisions.

Start with one effect that matters to your brand. We can review the stock, artwork and process order together; saving several finishes does not mean every combination is suitable.

Printed colour or metallic foil?
CMYK builds printed colour and images. Foil adds a reflective metallic or optical accent. A gold-coloured print is not the same as gold foil.
Colour printing ↓ Gold foil ↓
A film or a coating?
Lamination bonds a film to the surface; a coating applies a liquid finish. Both can change shine. A photograph alone cannot identify the process or establish durability.
Matte film ↓ Flood UV ↓ Spot UV ↓
Raised, recessed or patterned?
Embossing raises the paper, debossing presses it inward, and texture embossing repeats a pattern. Depth and fine detail depend on the stock and tooling.
Raised ↓ Recessed ↓ Texture ↓
What should I send for a finish review?

A logo or artwork file, your preferred box or paper reference, and a photo of the effect you like are enough to start. Mark where the effect should appear; you can leave the technical process open for our recommendation.

Before approval, review the actual stock and colour, foil or varnish registration, adhesion, and appearance at folds and edges. Soft-touch feel and fibre surfaces need a physical sample. Sampling options, cost and timing are confirmed with sales.

Share my artwork or reference ↗︎
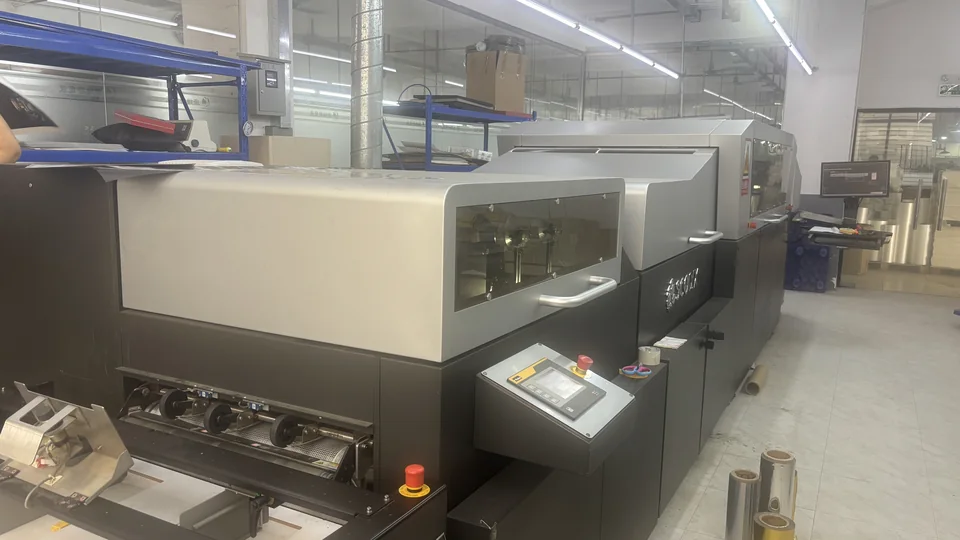
Surface-finishing equipment and its operating area
Recorded workshop view · 17 September 2026
IN THE WORKSHOP

Plan the surface. Review the process.

Surface-finishing equipment is one part of the production route. Agree the chosen material, artwork, finish placement and sample appearance before production.

See the workshop context ↗︎
THE COMPLETE PACKAGING

Bring the choices together.

Review what you saved and change anything you like. Choose only what you know; leave the rest open for our recommendation.

Explore these choices in complete packaging: Custom Cosmetic Boxes ↗︎ Custom Perfume Boxes ↗︎ Custom Rigid Boxes ↗︎